Childproofing a Rental Without Losing Your Deposit
Childproofing a rental puts two goals in tension. You want the unit as safe as possible for a small child, and you want your full security deposit back when you leave. Those goals feel opposed because…

Childproofing a rental puts two goals in tension. You want the unit as safe as possible for a small child, and you want your full security deposit back when you leave. Those goals feel opposed because most childproofing hardware is designed to be permanent. It screws into studs, bonds to painted trim, or clamps onto cabinet doors. The good news is that you can do almost all of it in a way that is both genuinely safe and reversible. The trick is knowing which measures leave a mark, which do not, and how to quietly undo the ones that do.
The real tension: safety versus reversibility
A landlord judges the unit at move-out against its move-in condition. Anything worse than normal wear can become a deduction. Childproofing falls into two groups:
- No-trace measures that come off cleanly: pressure-mounted gates, foam corner guards, sliding outlet covers, and cabinet latches that mount inside.
- Trace-leaving measures that need repair later: screwed gates, furniture anchors, and adhesive mounts on visible surfaces.
You do not have to avoid the second group. You just have to plan for restoring it. And one rule sits above everything else: never let deposit anxiety talk you out of a measure that prevents a serious injury. A patched hole costs a few dollars and ten minutes. A fall does not compare. When the two goals genuinely conflict, safety wins, and you deal with the wall later.

Start with a conversation with your landlord
Ask before you drill. Most landlords are reasonable about childproofing when you frame it as safety rather than decoration, and some are legally required to help with specific items. Send a short message listing what you want to install, especially anything that goes into a wall or door frame, and ask for written approval. Email is enough. A modification your landlord agreed to in writing is not damage, and that single exchange can settle a dispute a year later.
While you are at it, ask what the building will provide. In some places the law puts certain safety items on the landlord, and your lease may already spell out what alterations are allowed. Rules vary widely by location, so check your lease and your local tenant regulations rather than assuming.
Anchor the furniture first
If you do only one thing, anchor the tall furniture. Furniture and television tip-overs are a well-documented cause of serious injury to young children, and a curious toddler climbing an open dresser drawer can bring the whole piece down in seconds. Anti-tip straps and brackets come in most furniture and TV mounting kits. They screw into a wall stud on one end and into the furniture on the other.
Yes, this puts holes in the wall. They are pin-sized, they patch in minutes, and most landlords treat anchor holes as ordinary. Anchoring furniture uses the same skills as hanging anything on a rental wall: find the stud with a stud finder, and if you cannot reach one, use a rated heavy-duty drywall anchor instead. Prioritize dressers, bookcases, wardrobes, and any television that is not wall-mounted. Keep low, climbable furniture away from windows.
Baby gates: pressure-mounted versus hardware-mounted
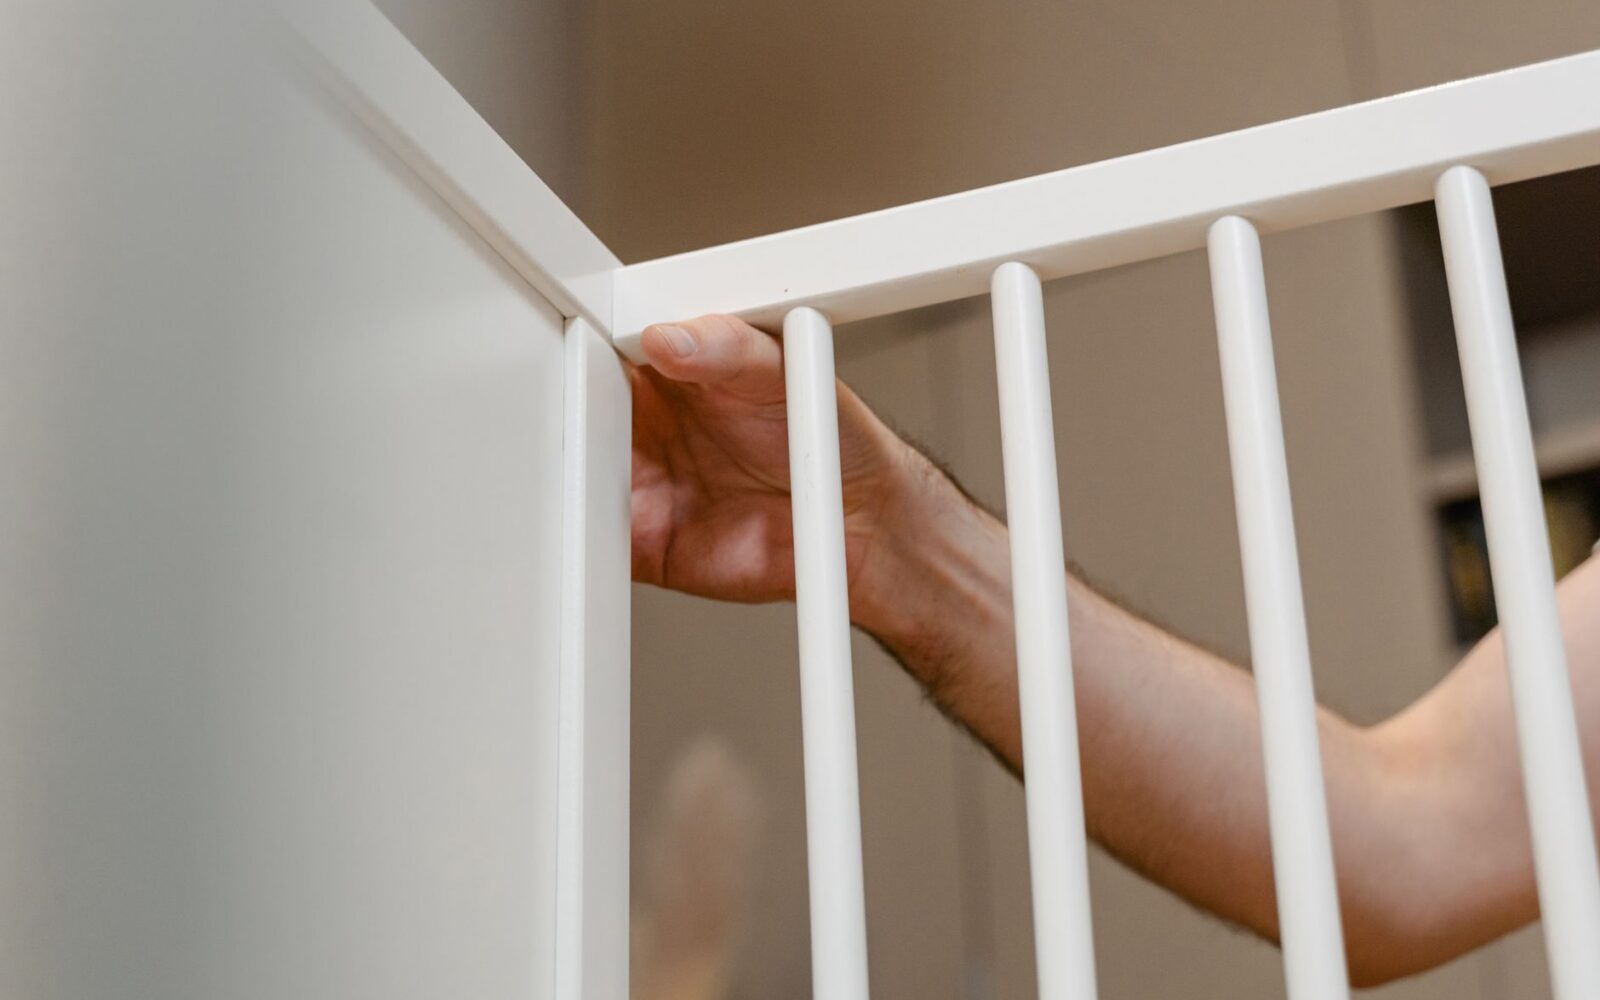
Gates come in two kinds, and the difference matters more than the price. Pressure-mounted gates are held in place by tension against the door frame. They leave no holes and at most a faint mark, and they are fine for doorways and the bottom of a staircase. They are not safe at the top of stairs, because a child leaning on one can dislodge it.
At the top of stairs you need a hardware-mounted gate that screws into the frame or wall. To limit the damage, use a gate installation kit or mounting plates, sometimes sold as wall-saver cups, that concentrate the screws onto a small board or protect the banister. You end up patching four small holes instead of gouging the trim. Save the original screws and hardware in a labeled bag.
Outlets, cabinets, and the adhesive problem
Skip the small plug-in outlet caps. They are a choking hazard once removed and easy to lose. A better option is a sliding outlet cover plate that replaces the existing wall plate using the same center screw. No new holes, and it closes itself when the plug is pulled. Keep the original plates in a bag to swap back later.
For cabinets and drawers that hold cleaning supplies, medicine, or sharp tools, magnetic or adhesive latches mount on the inside, so any residue is hidden and low-risk for your deposit. Adhesive is the main thing that costs renters money on visible surfaces. When you must use it, follow three rules: test on a hidden spot first, choose products labeled as removable, and take it off slowly. A hairdryer softens the glue, dental floss slices the bond behind a mount, and a citrus-based remover lifts the last of the residue.
Windows and cords, the quieter dangers
Falls from windows and strangulation from blind cords are two of the most serious and most overlooked hazards in any home with a small child. For windows, look at window guards or window stops that limit how far a sash can open. Laws vary: some cities, New York among them, require landlords to install window guards in apartments where young children live, while elsewhere it is left to the tenant. Ask your landlord and confirm what your local rules say. Never treat an insect screen as a barrier.
Corded blinds are a genuine strangulation risk, and they are usually the landlord’s fixtures rather than yours. Cordless is safest, but short of replacing them, wind the cords up out of reach on a cleat mounted high on the wall or use a cord wind-up. Keep cribs, beds, and climbable furniture away from windows and cords entirely.
The bathroom and kitchen
These rooms hold the highest concentration of hazards and, conveniently, the most renter-friendly fixes. In the bathroom, a toilet lid lock and cabinet latches for medicine mount with hidden adhesive. Never leave standing water in a tub or bucket, and if you can adjust the water heater to prevent scalding, do so, though on a shared or landlord-controlled system you will need to ask.
In the kitchen, stove knob covers clip on, oven doors take a clip lock, and the simplest measure of all is moving knives, chemicals, and small appliances to a high shelf. Most kitchen and bathroom devices clip on or use concealed adhesive, so they carry very little deposit risk.
Document everything, before and after
Your baseline is a set of dated photos. It pays to photograph a move-in walkthrough carefully, and before you install anything that touches a wall or fixture, take a close photo of the original condition. Keep every original part you remove, outlet plates and cabinet hardware included, in one labeled bag. When you restore the unit later, photograph the finished repair too. A clear before-and-after record is what turns a disagreement at move-out into a non-event.
Restoring the unit at move-out
Undo the work in reverse. Remove the gates and anchors, fill the holes with spackle, sand them smooth, and touch up with matched paint. Ask your landlord early for the paint color or code, because matching it is far easier before you have moved out. Peel adhesive off slowly with gentle heat and clean the residue, then reinstall the original outlet plates and hardware you saved. The aim is a walkthrough where the unit looks indistinguishable from the day you arrived. This is the same discipline behind returning the unit in good condition and getting your deposit back in full.
A note on cost and priorities
A full childproofing kit costs a modest amount, a patched anchor hole costs a few dollars, and an injury is on another scale entirely. If you cannot do everything at once, work down from the highest-lethality risks: furniture tip-overs first, then window falls, then water, then cords, then the smaller stuff. And remember that childproofing stops at your front door. Kids in the building mean there are separate conversations to have early about lobbies, stairwells, and shared spaces. Do not let a deposit talk you out of safety, and do let a little planning save you both.
Frequently asked
Can my landlord charge me for the holes left by anchoring furniture?
Small anchor holes are usually treated as ordinary wear, especially with written permission, but policies vary. Ask before you drill, get the approval in writing, and patch and repaint the holes at move-out so nothing shows during the final walkthrough.
Are pressure-mounted baby gates safe at the top of the stairs?
No. Pressure-mounted gates rely on tension and can be pushed loose, so they belong in doorways or at the bottom of stairs. The top of a staircase needs a hardware-mounted gate screwed into the frame, even though that leaves a few small holes.
How do I remove childproofing adhesive without damaging the paint?
Work slowly. Warm the adhesive with a hairdryer, slide dental floss behind the mount to break the bond, then lift the leftover residue with a citrus-based remover. Test any remover on a hidden spot first, and avoid peeling fast, which pulls paint.
Who is responsible for window guards in a rental?
It depends on where you live. Some cities, such as New York, legally require landlords to install window guards in units with young children, while in many places it falls to the tenant. Check your local tenant rules and your lease, then ask your landlord.
What childproofing should I prioritize if I am on a budget?
Start with the highest-risk items: anchor tall furniture and televisions against tip-overs, secure windows against falls, and remove or tie up blind cords. These prevent the most serious injuries. Outlet covers, cabinet latches, and corner guards can follow as time and money allow.
Related guides
 Apartment Living
Living Below Someone: How to Stay Sane Without Becoming the Complainer
Living below an active upstairs unit can wear you down over months. A grounded look at how to handle it…
 Apartment Living
Your First Apartment Walkthrough: A Calm, Honest Checklist
The move-in walkthrough is the single most important hour of your tenancy. A grounded, room-by-room checklist that protects your deposit…
 Apartment Living
Cooling a Top-Floor Apartment Without Central Air
A top-floor apartment comes with real advantages. No footsteps overhead, better light, often a quieter unit and a better view.…