Your First Apartment Walkthrough: A Calm, Honest Checklist
Your move-in walkthrough is one of the few moments you can document the apartment's condition without anyone pushing back. Use it well.


A walkthrough form is easy to treat as paperwork. Fill it out in ten minutes, hand it back, done. The problem is what a fast pass misses: a small crack in the bathtub, a loose cabinet hinge, a scuff on a bedroom door, a place where the kitchen counter laminate has lifted. Anything you do not record can be charged to you when you move out. The walkthrough is not paperwork. It is the only opportunity you have to set the record straight before the leasing office decides what counts as damage.
A real walkthrough takes about an hour. It is methodical, slightly boring, and immensely worthwhile. Here is what to look for, room by room, and how to document it in a way that survives.
Before you start
Bring three things. A phone with a charged battery. A small flashlight. The walkthrough form from the building or one you printed yourself. Wear comfortable clothes because you will be on your knees a few times. Plan to be there alone or with one quiet person who can help you take photos.
Begin by walking through the entire apartment once at normal speed. Just look. Resist the urge to start writing. The first pass gives you a feel for the apartment as a whole. The detail pass comes second.
The entryway and main door
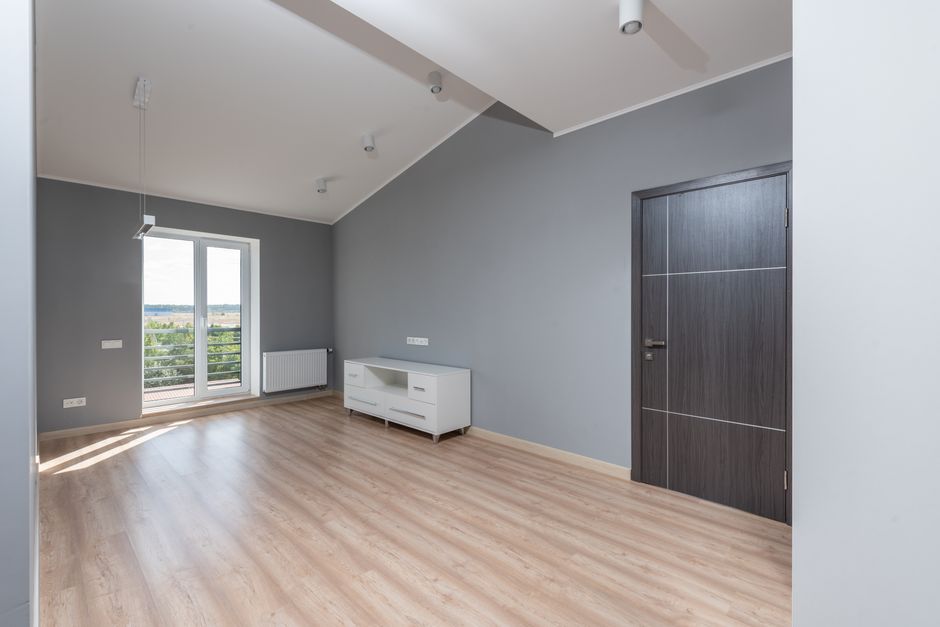
Check the door itself. Does it close fully? Does the deadbolt turn smoothly? Are there any visible signs of forced entry on the frame? Test the chain or extra lock if there is one. Look at the door from inside and outside. Note any scuffs, scratches, or paint missed spots.
Photograph the door frame, the lock, the hinges, and the back of the door. Open and close the door three times. Listen for any squeaks or grinding. Check whether the peephole has a working view and whether the unit number is visible on the outside.
Walls, floors, and ceilings
This is where most disputes happen at move-out, so spend time here. In each room, photograph each wall. Take wide shots and detail shots of any mark, even small ones. Note nail holes, paint touch-ups, scuffs, water stains, and any place where the wall feels soft or cracked. Pay special attention to corners and behind doors.
For the floor, walk every square foot in good light. Carpet should be photographed in sections, including the seams. Hardwood should be checked for scratches, dents, and warping near doorways. Tile should be tested by tapping each tile lightly with a knuckle. A hollow sound often means a loose tile underneath.
Look up too. Ceiling stains often indicate prior leaks. A faded brown ring or a slightly different paint patch is a clue. Photograph it. Note it on the form. If a leak recurs, you have evidence that the issue existed before your tenancy.
The kitchen
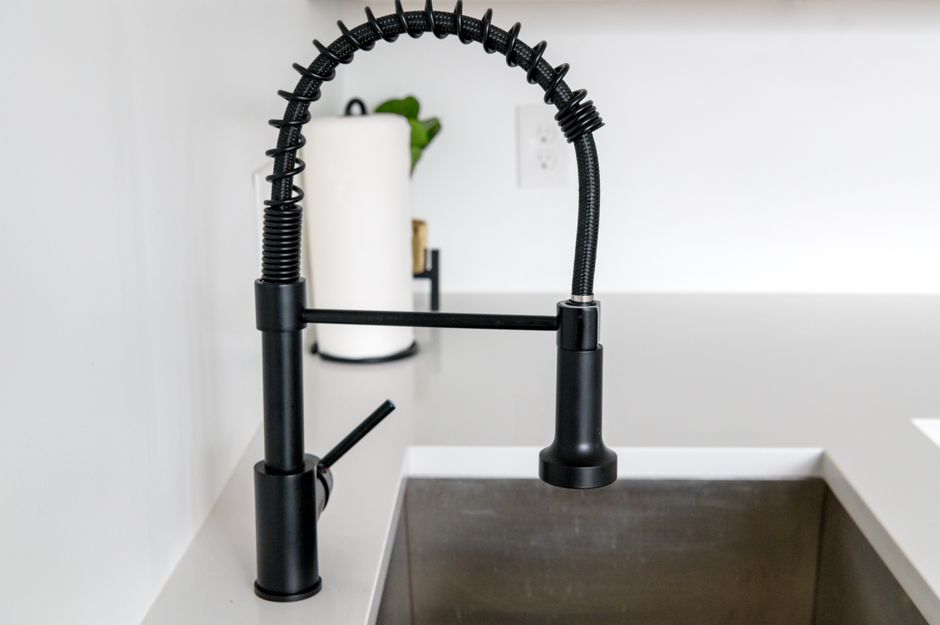
Open every cabinet. Look at the hinges and the latch. Note any missing handles, broken hinges, or doors that do not close. Run a hand along the counter for chips and lifts. Photograph the sink and the faucet from multiple angles.
Test every appliance. Turn on each stove burner one by one. Wait for them to glow or get warm. Test the oven by setting it to 350 and waiting ten minutes. Open the fridge, listen for the compressor, check the freezer for ice buildup. Run the dishwasher empty for one cycle if you have time. Test the garbage disposal if there is one.
Look under the sink with the flashlight. Check for water stains, mold spots, or active drips. Open the pipes mentally. If anything looks off, photograph it. Building managers often blame future tenants for under-sink moisture issues that were present at move-in.
Run the kitchen tap on hot for two full minutes while you watch under the sink with your flashlight. Slow leaks are most visible during sustained flow. A drip you catch now saves a deposit dispute later.
The bathroom
The bathroom is where many landlords find excuses to deduct. Document it thoroughly. Photograph the tub, the surround, the tiles, the grout, the toilet from multiple angles. Note any rust stains, cracked tiles, missing grout, soap scum buildup, or loose caulking.
Test the toilet. Flush it twice and watch how it refills. A toilet that runs continuously is a problem you want noted. Check the shower head and shower handle. Turn on the water and let it run through hot and cold for a minute each. Listen for pipes that knock or vibrate.
Look at the bathroom fan. Does it actually pull air? Hold a tissue near the vent and see if it sticks. A weak or non-functioning fan is a humidity problem you do not want blamed on you later. Reference: the EPA’s guidance on controlling indoor moisture and mold.
The bedroom and closets
In bedrooms, the closet is often where you find surprises. Open every closet, including any in hallways. Check the rod, the shelves, and the floor. Photograph the inside of the closets, especially the corners, where missed paint and damage often hide.
If the apartment has an in-unit washer or dryer, run them empty through a full cycle. Listen for grinding or imbalance. Check the drain hose for any kinks or leaks. Photograph the area behind and underneath both machines.
Windows, blinds, and screens
Test every window. Open it, close it, lock it. Note any windows that stick, will not stay open, or have broken seals (you will see condensation between the panes). Photograph each window from inside and outside if you can.
Check the blinds. Pull them up and down. Make sure they reach the bottom. Photograph any broken slats. If the apartment has screens, push gently on them. Note any tears or missing screens. Replacing screens later is small money but landlords sometimes charge surprising amounts for them at move-out.
Heating, cooling, and outlets
Test the thermostat. Turn the heat on and wait ten minutes. Turn the AC on and wait ten minutes. Feel the air at each vent. Take photos of the thermostat reading.
Walk around with a phone charger or a small lamp and plug it into every outlet. Note any that do not work. Photograph any outlets with broken faceplates or scorch marks. Test the switches by turning each light on and off. Make a note of any bulbs that are missing or burned out.
The shared spaces
Walk to your mailbox and confirm the key works. Test your storage unit key if you have one. Walk to your parking spot if you have one. Confirm it is the right number. Open the laundry room and test the machines if you have access.
If your building has a key fob, test it on every door it should open. If it does not work on one door, note it now. Fob issues that show up later are sometimes blamed on resident error.
Document and submit
After the walk, finalize your form. Be specific. “Scratch on hardwood, bedroom, near doorway, six inches long” is more useful than “scratched floor.” Attach photos to the form digitally if possible.
Email the completed form to the leasing office or building manager with a clear subject line. Keep a copy for yourself. Keep all the photos on a cloud drive that is not just on your phone. This is the documentation that will save you a deposit dispute three years from now.
The thirty-day window
Many things will appear after the walkthrough. A drawer that does not close right. A light that flickers. A small drip you did not catch. You usually have a thirty-day window after move-in to add to the walkthrough record. Use it. Send an email any time you spot something, with photos. The leasing office may not respond, but the record matters.
You can also schedule a follow-up walkthrough with the manager toward the end of that window. Most managers will agree, especially for new tenants. A second pass with a fresh set of eyes catches things you missed in the first hour.
Frequently asked questions
- How long should a walkthrough actually take? Plan on close to an hour for a studio or one-bedroom, and a bit longer for a larger unit or one with more appliances.
- What if the leasing office wants to rush me through in fifteen minutes? Politely ask to keep the form overnight or complete it on your own time and return it the same day by email.
- Can I add to the walkthrough form after I have signed it? Yes, most leases allow written additions during a set window after move-in, often around thirty days, so document anything new in writing right away.
- Should I bring someone with me? A witness is not required, but a quiet friend who photographs while you inspect can nearly double your speed without diluting your focus.
- What if the leasing office disputes a photo later? Keep the original file with its metadata intact so the timestamp and, in many cases, the location travel with the image.
- Do I really need to test appliances I never plan to use? Yes, because documenting a broken dishwasher or disposal at move-in is the only reliable way to avoid being charged for it at move-out.
- What if the manager refuses to accept my completed form? Email it with a clear subject line, save the sent confirmation, and store a copy on a cloud drive that is not only on your phone.
What this protects
A thorough walkthrough does three things. It protects your deposit at move-out. It documents pre-existing conditions for warranty or repair issues during your tenancy. And it sets a tone with your landlord. You are a tenant who pays attention. That single signal often results in better, faster responses to maintenance requests over the months that follow. The hour you spend on the walkthrough is the most well-paid hour of your tenancy.
Frequently asked
What if the leasing office did not give me a walkthrough form?
Make your own. A blank document with the date, your name, the unit number, and a list of rooms is enough. The substance is in your documentation, not the office's form.
How many photos is too many?
There is no such thing as too many. Hundreds of photos is normal for a thorough walkthrough. Storage is free and disputes years later are not.
What if I notice something after I have already submitted my walkthrough?
Send a follow-up email with the new finding and photos. Most landlords accept additions within the first thirty days. After that, the addition is harder but still worth submitting.
Should I refuse to move in if the apartment has serious issues?
Usually no, because you have already committed to the lease. Instead, document everything, request specific repairs in writing, and follow up consistently. Refusing to move in is a complex legal decision that deserves a tenant rights consultation.
Related guides
 Apartment Living
How to Hang Things on a Plaster Wall Without Losing Your Deposit
Hanging art and shelves in a rental does not have to be a deposit-risking gamble. A grounded guide to the…
 Apartment Living
Keeping a Small Apartment Warm in Winter Without a Huge Bill
A small apartment has one real advantage in winter: there is less air to heat. The trouble is that most…
 Apartment Living
The Bathroom Fan You Should Actually Be Running
Most apartment bathroom fans are used for thirty seconds during a shower and then turned off. The right pattern looks…