How to Photograph a Move-In Walkthrough
Move-in photos are the cheapest insurance policy in renting. A grounded look at how to do them in a way that actually protects you.


Move-in photos are the cheapest insurance policy any renter can take out. They cost nothing. They take a single afternoon. They protect you from deposit disputes years later. Most renters do them badly or skip them entirely. Here is how to do them in a way that actually holds up when needed.
The day to take them
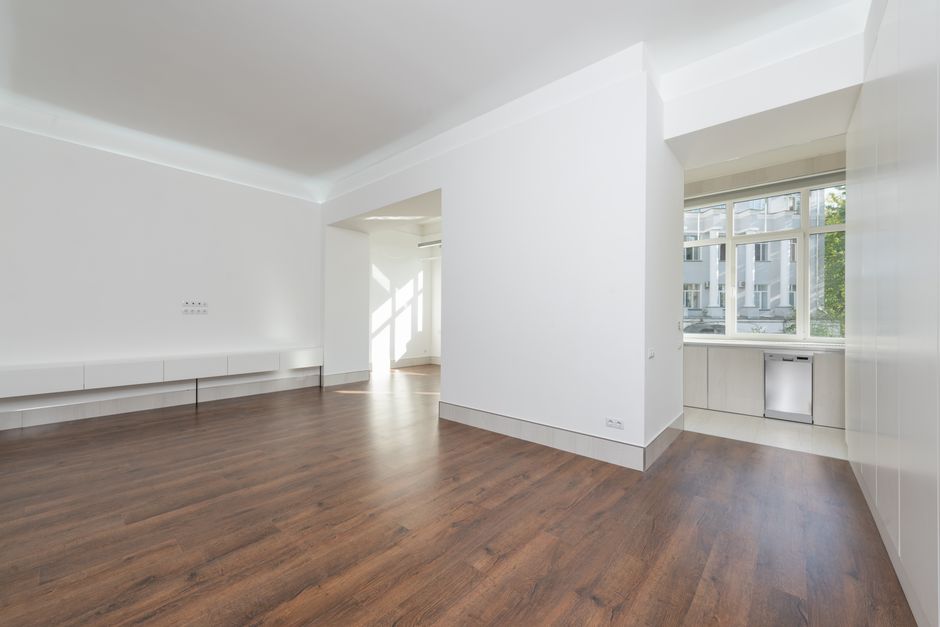
The right time is move-in day, before any of your stuff arrives. The unit is empty. The walls are clean. The condition is what the landlord will compare to at move-out.
If you cannot do them before moving in, do them as soon as possible. Within the first week is acceptable. Past two weeks, the landlord may argue that any damage was caused after you moved in.
If you find issues days after move-in, do a second round of photos. Add them to the documentation with the date noted.

The equipment
A smartphone is sufficient. You do not need a professional camera. Most modern phone cameras handle wide-angle shots and detail shots well.
The only special tool is a good light source. Take photos in daytime if possible. Open all the blinds. Turn on all lights. The brighter and clearer the photos, the more evidence they provide later.
A small flashlight helps for photographing dark corners, under sinks, and behind appliances.
The systematic approach
Take photos systematically, not randomly. The approach that works:
- One wide shot of each room (showing the layout and overall condition).
- One photo of each wall (showing any marks, scuffs, or damage).
- One photo of each floor section.
- One photo of the ceiling.
- One photo of each window (inside and outside view).
- One photo of each door (both sides).
- Close-up photos of any visible damage or wear.
For a one-bedroom apartment, this is typically 100 to 200 photos. For larger units, more. Storage is cheap. Take more than you think you need.
Most damage happens in corners and edges. Photograph corners where walls meet floors. Edges of cabinets. Door frames. The transitions between rooms. These are the places landlords often find damage at move-out, so document them thoroughly at move-in.
The kitchen photos
The kitchen has the most components to document. Plan for:
- Each appliance (front, sides, controls, any visible wear).
- The interior of the refrigerator, freezer, oven, microwave.
- Each cabinet (open, showing the interior).
- The countertops (close-up showing any chips, lifts, or wear).
- The sink (basin, faucet, under-sink area).
- The floor (overall, plus close-ups of any tile damage or laminate wear).
- The backsplash.
Run the kitchen tap and photograph the under-sink area while water is flowing. Any leaks will be more visible.
The bathroom photos
Bathrooms are damage-dense. Document:
- The toilet (front, base, behind, tank inside).
- The tub or shower (overall, plus tile, grout, caulking).
- The shower head and fixtures.
- The vanity and sink (top, basin, under-sink).
- The mirror.
- The exhaust fan grille.
- The toilet paper holder and towel bars.
- The floor (overall, plus close-ups).
Note any rust stains, chipped tiles, or peeling caulk. These are common move-out claim categories.
The fixtures and details
Beyond walls and floors, photograph:
- Every light fixture (and note any burned-out bulbs).
- Every outlet and switch.
- The thermostat (and note the reading).
- Smoke detectors and CO detectors.
- The fire extinguisher if one is provided.
- The water heater (if accessible).
- The HVAC unit or vents.
- Closet interiors (rods, shelves, floor).
These are often the small components that landlords notice at move-out but renters did not document.
The condition notes
Photos alone are not enough. Pair them with written notes. A simple document or spreadsheet listing each room and the visible issues:
- Living room: small scuff on north wall (photo 23), nail hole in south wall (photo 27).
- Kitchen: chip in counter corner (photo 45), loose cabinet hinge upper-left (photo 51).
- Bathroom: rust stain in tub (photo 62), missing grout in shower corner (photo 67).
This list takes about thirty minutes to create. It serves as a written record that complements the photos. Together they form documentation that is very hard for a landlord to dispute.
The submission to the landlord
Send your photos and notes to the landlord. Email is best because it creates a date-stamped record. The message:
- Your name and unit.
- The date.
- “Attached is documentation of the unit’s condition at move-in.”
- The photos (or a link to a cloud folder).
- The condition list.
- A request that they confirm receipt.
Keep a copy of the email. If they do not confirm receipt, follow up. The record matters.
If the landlord provides their own walkthrough form, fill it out completely with reference to your photos. “See attached photos for documentation of these conditions.”
The cloud storage
Store the photos in cloud storage, not just on your phone. Phones get lost, broken, or replaced. The photos need to outlast the device.
Use a dedicated folder labeled with the unit address and the move-in date. Make sure you can access it from any device.
Some renters store a backup copy with a trusted contact (parent, friend, partner) in case their own access fails.
The update at each issue
Things will happen during your tenancy. The fridge will start leaking. The hallway light will go out. The window seal will fail. Document each issue with photos as it happens.
This serves two purposes. It provides evidence if the landlord later disputes the source of a problem. It also creates a maintenance trail showing what you reported and when, which is useful if the landlord delays addressing real issues.
The move-out reference
At move-out, do another walkthrough with photos. Compare to your move-in photos. Any differences are documented. Any disputes can be addressed with photographic evidence on both sides.
If the landlord conducts the move-out walkthrough alone (which many do), your move-out photos serve as your independent record. If their assessment differs from yours, the photos provide the evidence to dispute charges.
Why this step gets skipped, and why to do it anyway
Photo documentation is one of the smallest, cheapest, and most effective protections any renter can use. The fifteen minutes to thirty minutes at move-in protect deposits that can range from $500 to $5000 at move-out. The return on time is dramatic. Reference: Nolo’s guide to security deposit rules and limits by state.
Most renters skip this step because move-in day is chaotic. The boxes are arriving. The utilities need setup. The unit needs cleaning. The thought of doing a systematic photo session feels like an extra burden.
Do it anyway. Set aside thirty minutes before the chaos. Walk through every room. Photograph systematically. Send to the landlord. Store in cloud. The future you, three years from now at move-out, will thank the present you who took the time.
Apartment relationships often come down to documentation. The landlord remembers things their way. The tenant remembers things their way. The photos remember things accurately. Make sure you have them.
Frequently asked
How many photos is too many?
There is no such thing. Cloud storage is free. Hundreds of photos is normal for thorough documentation. Aim for coverage of every wall, floor, fixture, and detail.
What if I notice damage weeks after move-in?
Document it immediately with photos and notes. Send a follow-up email to the landlord. Most landlords accept additions within the first 30 days.
Should I also do a video walkthrough?
A video walkthrough can supplement photos but should not replace them. Photos are easier to reference specifically. Video is good for showing context and overall condition.
What if the landlord refuses to acknowledge my photos?
Send them anyway. The email with attached photos is the evidence, regardless of whether they confirm receipt. If a dispute happens later, the email timestamp matters.
Related guides
 Rental Living
Renting With Roommates Who Are Not Strangers Forever
Living with friends or partners as roommates is a different game from renting with strangers. A grounded guide to keeping…
 Rental Living
Renting With Roommates Who Are Strangers, Honestly
Renting with stranger roommates is common in urban living. A grounded guide to the vetting and structure that make it…
 Rental Living
When Your Landlord Ignores a Repair Request: How to Escalate
A repair request that goes unanswered is one of the more stressful parts of renting, partly because it mixes two…